Introduction
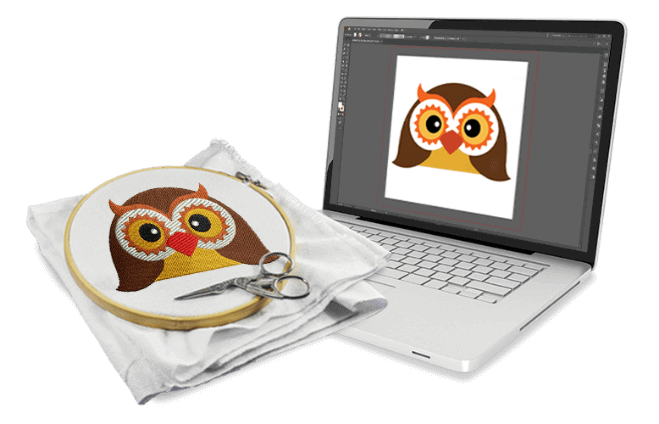
Embroidery digitizing transforms artwork into stitch files your machine can understand. But should you use auto-digitizing software or do it manually with the best embroidery digitizing software? The answer depends on your project needs, skill level, and desired quality.
In this guide, we’ll compare auto-digitizing versus manual techniques and recommend the best embroidery digitizing software for each approach. Whether you’re a hobbyist or professional, you’ll learn which method works best for different situations and how to get the best results from your digitizing software.
Understanding Digitizing Methods
What Is Auto-Digitizing?
Auto-digitizing software automatically converts images (like PNG or JPG) into embroidery files with minimal user input. The software analyzes colors and shapes, then generates stitch patterns.
Best for:
- Simple designs
- Quick turnaround projects
- Beginners learning digitizing
What Is Manual Digitizing?
Manual digitizing involves creating stitch-by-stitch designs using specialized software. You control every aspect, including stitch type, direction, density, and underlay.
Best for:
- Complex artwork
- Professional-quality results
- Custom stitch effects
Comparing Auto vs. Manual Digitizing
| Feature | Auto-Digitizing | Manual Digitizing |
|---|---|---|
| Speed | Fast (minutes) | Slow (hours) |
| Skill Required | Beginner | Advanced |
| Design Control | Limited | Complete |
| Stitch Quality | Medium | High |
| Best For | Simple logos | Detailed artwork |
| Cost | $ | $$$ |
Best Auto-Digitizing Software
1. Hatch Embroidery
- Price: $999 (one-time) or subscription
- Pros: Excellent auto features, good manual tools too
- Cons: Expensive for beginners
2. Embrilliance StitchArtist
- Price: $129-$399 (modules)
- Pros: Affordable entry point, easy to use
- Cons: Limited auto features in basic version
3. SewArt
- Price: $75
- Pros: Budget-friendly, simple interface
- Cons: Basic auto-digitizing only
Best Manual Digitizing Software
1. Wilcom EmbroideryStudio
- Price: $3,000+
- Pros: Industry standard, powerful tools
- Cons: Steep learning curve
2. Pulse Ambassador
- Price: $1,500+
- Pros: Excellent stitch control
- Cons: Outdated interface
3. Ink/Stitch (Free)
- Price: $0
- Pros: Completely free, open-source
- Cons: Requires Inkscape knowledge
When to Use Each Method
Choose Auto-Digitizing When:
- You need a simple design fast
- Working with clean vector artwork
- Learning digitizing basics
- Producing low-volume personal projects
Choose Manual Digitizing When:
- Creating complex designs
- Need professional-quality results
- Working with challenging fabrics
- Producing designs for sale
Pro Tips for Better Digitizing
Auto-Digitizing Tips:
- Start with high-contrast images
- Simplify colors before converting
- Always clean up the auto result
- Adjust stitch density after conversion
Manual Digitizing Tips:
- Plan your stitch sequence first
- Use appropriate underlay stitches
- Vary stitch directions for texture
- Test sew on actual fabric
Common Digitizing Mistakes to Avoid
Auto-Digitizing Pitfalls:
- Using low-quality source images
- Not adjusting default settings
- Skipping the manual cleanup
- Expecting photo-realistic results
Manual Digitizing Pitfalls:
- Overcomplicating simple designs
- Ignoring fabric characteristics
- Using wrong stitch types
- Forgetting to test sew
Hybrid Approach: Best of Both Worlds
Many professionals combine both methods:
- Start with auto-digitizing
- Use manual tools to refine
- Adjust problem areas by hand
- Optimize stitch paths
This saves time while maintaining quality control.
Free Alternatives to Try
If you’re not ready to invest:
- Ink/Stitch: Free manual digitizing
- MyEditor Online: Basic auto-digitizing
- SewWhat Free Trial: Test before buying
Conclusion
Auto-digitizing offers speed and simplicity, while manual digitizing provides precision and professional results. The best approach depends on your specific needs, budget, and skill level.
Beginners should start with auto-digitizing software like Embrilliance or Hatch to learn the basics. As your skills grow, transition to manual tools for more control. Professionals will want industry-standard software like Wilcom for the best results.
Remember that even auto-digitized designs usually need manual tweaks. Test sew every design, regardless of how it was created. With practice and the right software, you’ll be creating beautiful embroidery art in no time.
Now that you understand both methods, why not try digitizing your first design? Start simple, be patient, and most importantly – have fun with your embroidery projects!